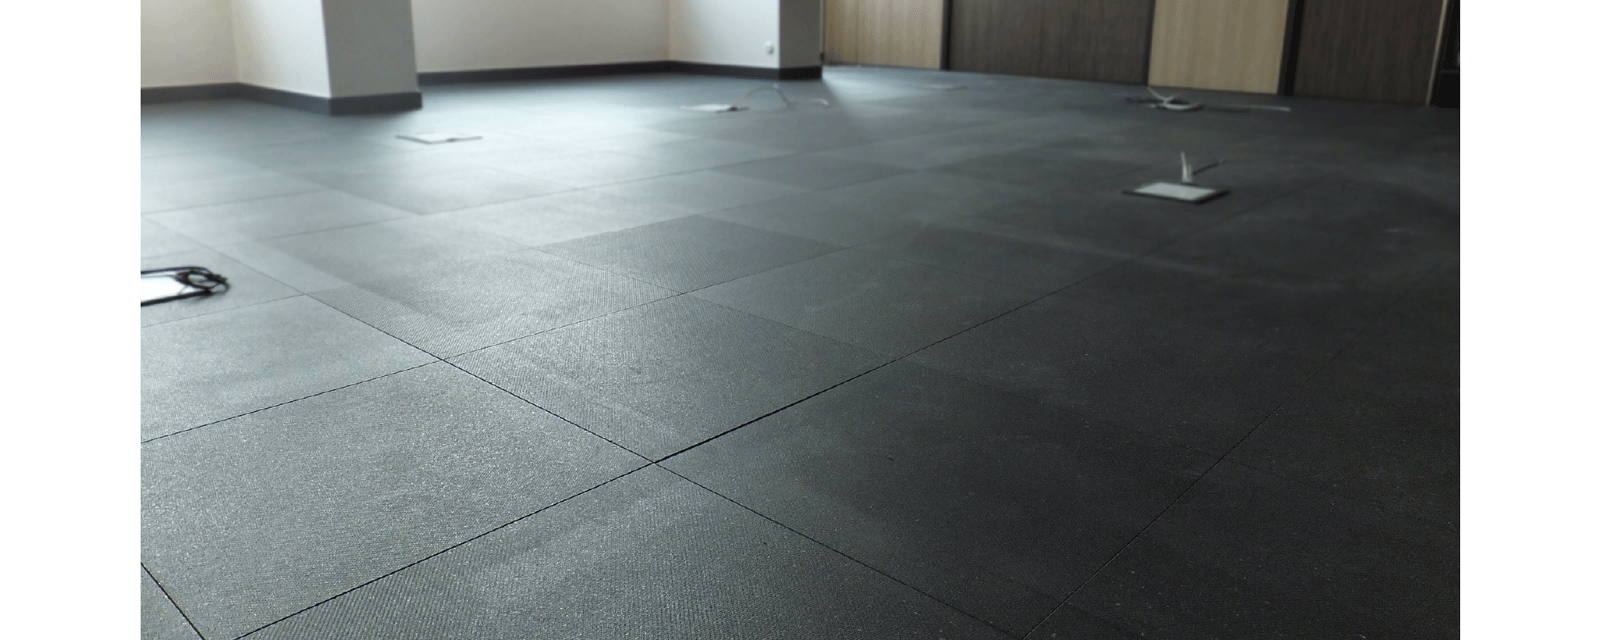
Installation Raised Floors
Installing raised floors
The construction of a raised floor, carried out following the design of the system, is guaranteed by Imola Tecnica’s use of highly specialised teams. It consists of the following phases:

Marking out
Before beginning to lay a floor, the layout grid defined in the working plan is marked on the ground in order to define the position of the columns and organise the various facility systems so they do not obstruct the structure.
The grid is marked out, starting from a right angle (called a square) to ensure that all the grouting is aligned.
Assembling the substructure
The structure is assembled, first by placing the support columns at the points indicated in the layout, which in the case of a substrata that is not perfectly even or level can be glued using a polyurethane glue.
Then the crossbeams are attached to the heads of the columns with the relative anti-vibration and anti-dust gaskets.
Assembling the panels
Having assembled the structure, the level of the floor is then defined using a laser level. A floor can also be defined using a string that will then be used as a guide for the height of the structure.
The panels are then laid onto the structure assembled previously (where they remain by force of gravity) and are kept perfectly level by adjusting the height of the support columns.
The perimeter panels, which will need to be cut to size, are laid last of all.
These complete the installation of the raised floor and compress it between the perimeter walls of the room in question.